Getting outdoors, especially with the COVID-19 pandemic, feels like a much-needed escape; from being cooped up home working remotely, a deck provides an ideal space to relax and enjoy the outdoors. While doing so, you may notice peeling, cracking, or dull-looking decking because it’s been coated in autumn leaves, battered by frequent rainfall, scorched by the sun during the summer, and frozen by the wind during winter. Here are simple steps to painting your deck for its restoration.
Step 1: Check Your Deck’s Condition
If your deck is dated or untreated for over six months, you can begin restoring it with paint. However, if it’s new, you’d have to wait about six months for it to weather naturally before staining or oiling. Leaving it allows any treatment to erode and let the new paint stick and sink into the deck.
Step 2: Prepare Your Deck for Painting
Before you start painting, there are many things you need to do in the preparation stage; here’s what you need to do.
Wash Surfaces
Regardless of having an old or new deck, ensure you clean it to remove any debris. Remove all grills and furniture, sweep thoroughly, and wash the surfaces with a brush, water, and detergent. You can also choose to use a pressure washer to get rid of all residue.
Sand the Boards
If you’re removing old paint or stain from your deck, sanding is an essential step. If you don’t own a sander, contact an equipment rental shop in your locality to equip you with one. When sanding, ensure you remove all residue, paint, and stains to expose bare wood. Make sure to sand all sides of every board, including underneath.
Use a Wood Filler
Suppose your deck is old; you may come across imperfections on the wood, such as chips and cracks. Painting on such surfaces doesn’t last long, but you can skip it if you don’t mind. Using a wood filler flattens and smoothens the boards for a perfect paint job.
Time to Prime
Your new deck will constantly experience varying moisture, humidity, foot traffic, and temperature, hence the need for priming. Priming is especially vital on wood surfaces because the wood is porous and absorbs liquids on the surface fast. Applying primer before you paint closes off the tiny pores and enables the paint to stick properly, preventing bubbles, blisters, and peeling once the painting is done.
Step 3: Paint Your Deck
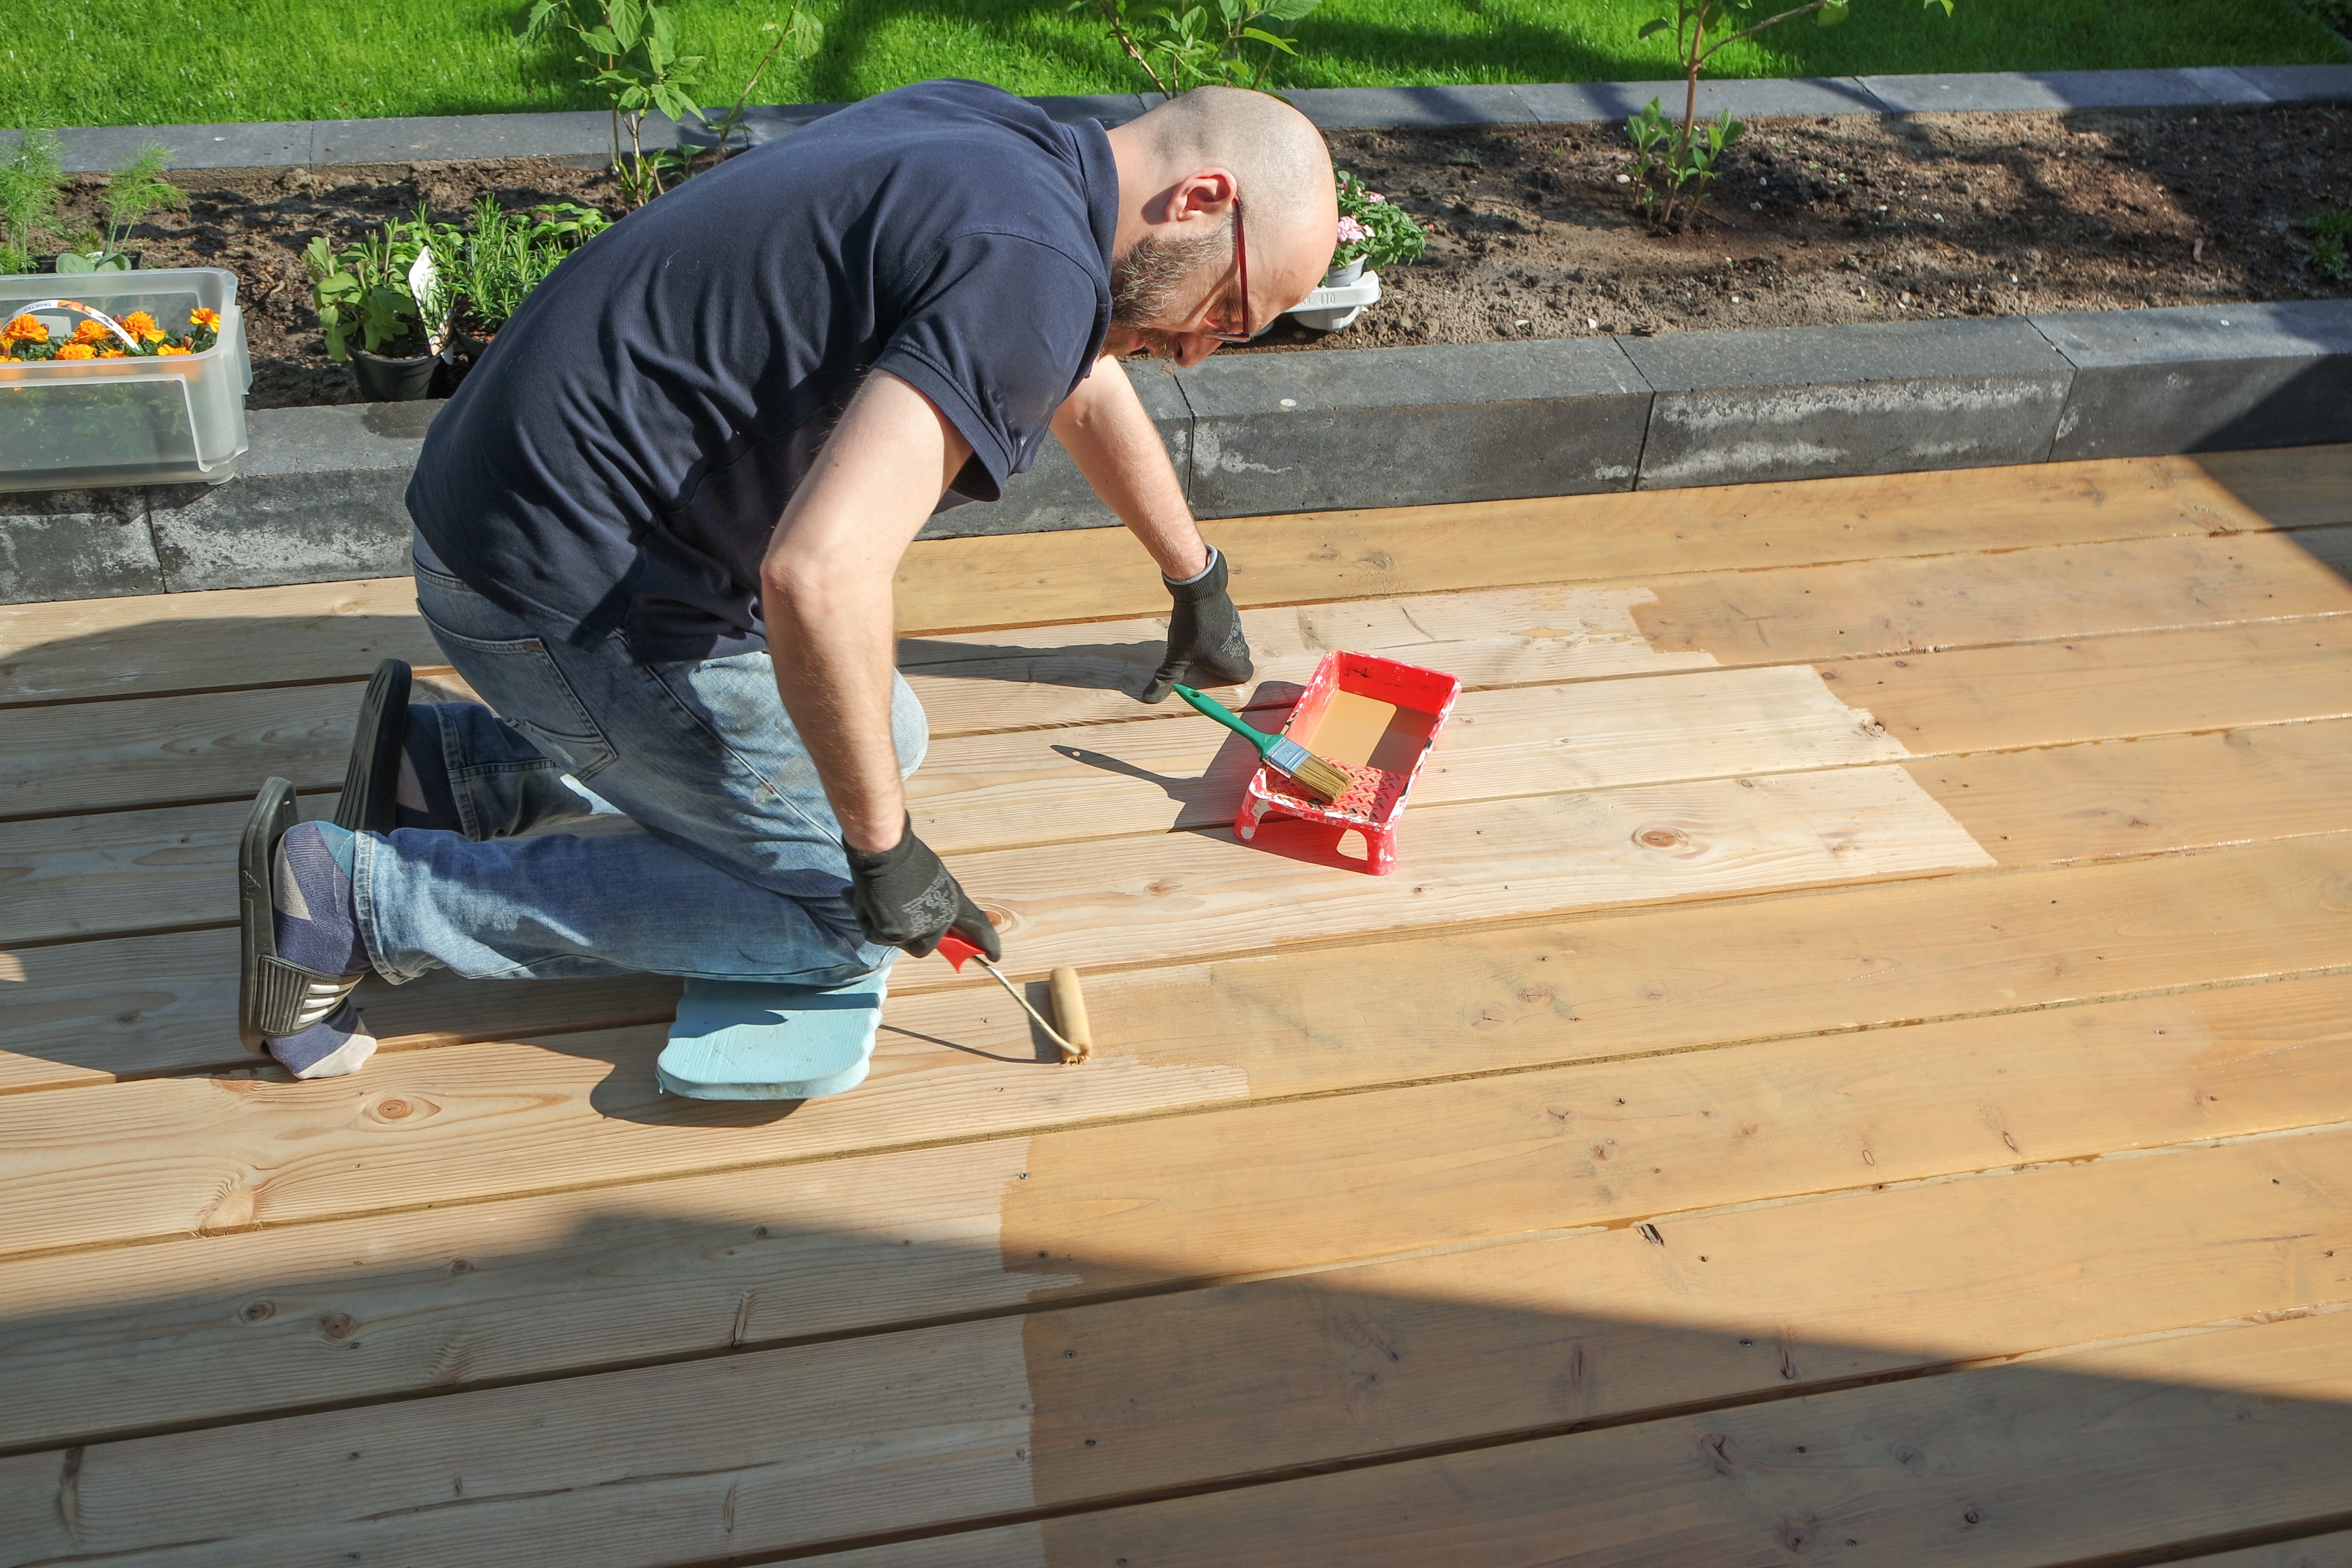
After you’ve cleaned, sanded, and primed your deck, it’s time to paint. Choose your preferred paint color depending on your home’s style, and remember to go for outdoor paint. The best way to go about painting is using a roller. Use a painting tray to get rid of excess paint on the roller to avoid wastage and once you’re done going over the boards, use a paintbrush to get some paint in the nooks and crannies between boards.
Painting gives your old or new deck a brand new look and adds a few years to its life span. The process is simple if you follow the above steps. You can repaint your new or old deck to enhance your curb appeal and give you a more comfortable experience outdoors.


